If you’re looking to start screen printing, there are a few things you’ll need to know. In this article, we’ll share some tips and tricks for getting started, from finding the right equipment to mastering the basics of the process. So don’t be afraid – get ready to start screen printing like a pro!
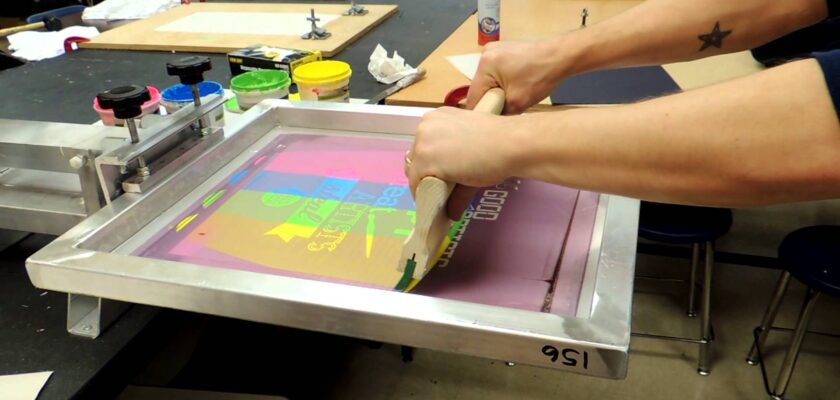
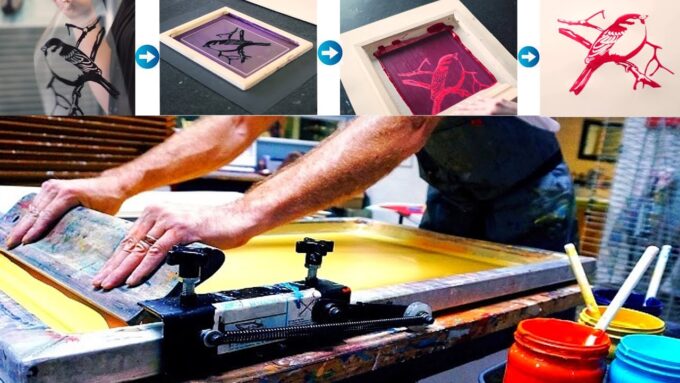
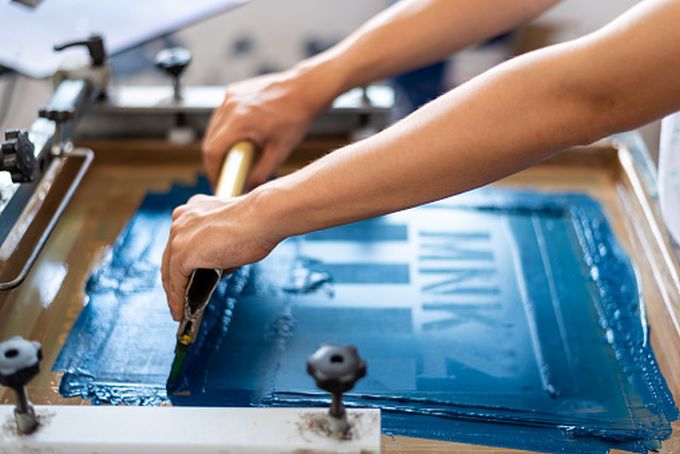
What is Screen Printing?
Source:youtube.com
Screen printing is a process of transferring ink from a screen to a substrate. The screen is a mesh fabric with apertures that are large enough for the ink to escape, but small enough that the fabric does not tear. The ink is transferred onto the substrate by pressing it through the apertures.
Screen printing can be used to print patterns or images onto clothing, accessories, and other items. It is an inexpensive and quick way to create custom products. There are many hacks and tips for beginners when screen printing. Here are some tips to get started:
- Choose your printer carefully. Screen printers come in different sizes and prices, so make sure you choose one that fits your needs.
- Get familiar with your printer’s settings. It’s important to understand how your printer works so you can customize your output.
- Be patient. Screen printing takes time to learn, but with patience and practice, you can become a successful screen printer!
Types of Screen Printer Ink

Source:youtube.com
If you are new to screen printing, you may be wondering what type of printer ink is best for your project.
Here are a few tips for choosing the right ink for your project:
-If you are using black and white images, then a standard black printer ink will work great.
-If you are printing with color images, then choose an ink that matches the colors in your image. For example, if you are printing with green images, then use green printer ink.
-When your image contains a lot of details, a more durable ink may be better. For example, if you are printing with logos or text that will be exposed to daily wear and tear, then choose an ink that is more resistant to fading.
Tips for Printing on Fabric
If you’re new to screen printing, there are a few hacks and tips you should know before getting started. Here are a few basics to get you started:
- Use large sheets of fabric for the best results. A standard 8×10-inch sheet of fabric will print at around 200 dpi, which is enough resolution for most prints. Larger prints can be made on larger sheets of fabric, but be aware that the file size will be larger and the print process may take longer.
- Use a digital printer if possible. Digital printers produce higher-quality prints than traditional inkjet printers, which is especially important if you’re printing on delicate fabrics or patterns.
- Use a transfer tape to help transfer your design to the fabric. Transfer tape is sticky and removable, so you can easily apply your design to the fabric without ruining it. It’s also reversible, so you can change your design without having to start over.
- Use heat when printing on fabric. Screen printing doesn’t work with cold materials, so always preheat your fabric before printing to avoid damaging the inkjet surface. You can also heat up the screen using a hair dryer or heat gun before printing.
- Experiment! It’s always fun to try new screen printing techniques and see how different fabrics and designs look on the finished product.
How to screen print on silk
If you’re a first-time screen printer, you’re probably wondering how to get started. Here are a few useful hacks that will make your printing process smoother and easier. So read on to learn everything you need to know about silk screening!
- Get the right tools. The first thing you need to do is get yourself some supplies – including a computer with a printer, an inkjet or laser printer, and silk screen printing software (if you don’t have any already).
- Set up your software. Once you have your supplies together, it’s time to set up your software. Follow the instructions provided by your software in order to configure it properly. You’ll need to set up your printer settings as well as your print preferences (e.g., size and type of prints).
- Make your first silk screens! Now that your software is set up and your prints are configured, it’s time to start printing! First, create a test design on a piece of paper and transfer it to your silk screen. Next, print the test design onto your silk screen using your printer. Make sure to pay close attention to the calibration instructions provided by your software in order to get the best prints possible!
- Fine-tune your printing process. Now that you have some basic prints under your belt, it’s time to start fine-tuning your printing process. For example, you may want to experiment with different print settings (e.g., density, size, etc.) in order to get the results you’re looking for.
- Keep learning! As you continue printing, be sure to keep learning about silk screening and how to get better results. There are a lot of different tips and tricks out there that can help improve your printing process – so be sure to explore them all!
Tips for Printing on Paper

Source:youtube.com
If you’re a newcomer to screen printing, or just looking to refine your technique, these tips are for you.
- Get the right equipment. The first and most important step is to have the correct equipment. A quality print press and high-quality inks are both necessary for great results. Make sure you also have a good printer, paper, and guidelines.
- Prep your materials. Before you start printing, make sure all of your materials are primed and ready to go. This includes your print press, paper, and inks. If you don’t prepare correctly, your prints will come out blurry or distorted.
- Follow the guide lines. Screen printing is a precision art form, so it’s important to use guide lines when printing your designs. These lines will help you control the placement of each color on the print surface. Without them, your prints may be uneven or inaccurate.
- Take time to experiment. Don’t be afraid to experiment with different settings on your printer or with different types of inks to see what works best for you and your designs. There’s no “right” way to print, so find what works best for you and stick with it.
- Clean your prints frequently. Make sure to clean your prints after each use to keep them looking their best. This includes removing any excess ink, dust, or debris.
How to Print Flyers and Ads
There are a few simple things you can do to get great results when screen printing with your home printer. And if you’re a beginner, we’ve got some tips to help you get started quickly and successfully.
First, make sure the printer is correctly set up and connected to your computer. Make sure the printer is on the same network as your computer, and that the USB cable is plugged in properly.
Second, make sure your print settings are correct. You’ll want to choose a high resolution or print size for your flyers and ads, so they’re crisp and clear. And be sure to choose a suitable printing paper – either heavy or lightweight – that will give you good results in terms of ink absorption and print quality.
And finally, be patient! It may take a bit of time to learn how to print effectively with your home printer, but the rewards are worth it – prints that are both professional-looking and affordable!
Final Words
Source:istockphoto
Screen printing can be a fun and creative way to create custom clothing for your own use or for selling. However, like any skill, it takes some practice to get the hang of it. In this article, we have shared some screen printing hacks and tips that will help you get started with this popular manufacturing process. So whether you are a beginner looking to perfect your technique or an experienced printer looking for new ideas, read on for helpful advice and insights into the world of screen printing.