Photo etching is a process where images or patterns are etched into a soft metal using a chemical reaction. It’s often used to produce detailed, one-of-a-kind pieces for collectors and modelers. In this blog post, we will explore some photo etching tips and tools that can help you achieve the desired results. We will also discuss the different types of photo etching and their respective benefits. So if you’re looking to add some detail to your models or just want to create something beautiful and unique, be sure to check out these tips!
What is Photo Etching in Modeling?

Source:youtube.com
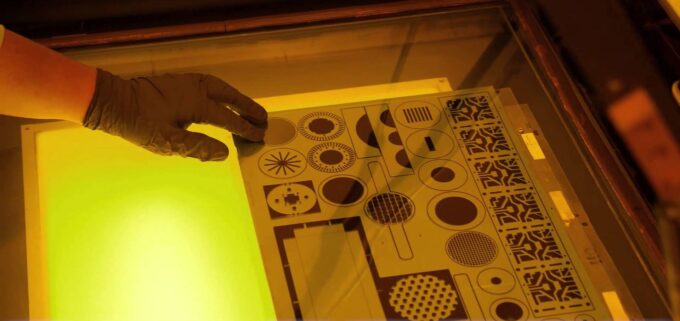
Photo etching is a process of etching or engraving using light as the etching medium. The photo-sensitive material, usually film, is exposed to light of certain wavelengths and then developed to create an image on the film. When this image is exposed to light of a different wavelength the latent image will be revealed, which can then be used to create a replica from the original photo. This type of process can be used in many different ways in modeling and can provide models with intricate details and fine lines that are not possible with other processes.
There are many different types of photo etching tools and techniques you can use depending on what kind of detail you’re looking for in your model. Tools like lasers and dyes can be very precise but require accurate timing and careful handling, while traditional carving tools like knives and chisels can produce more natural-looking results but may take longer to achieve the same level of detail. Regardless of the tool you choose, though, it’s always important to take your time and carefully follow the instructions that come with it to ensure you get the best results possible.
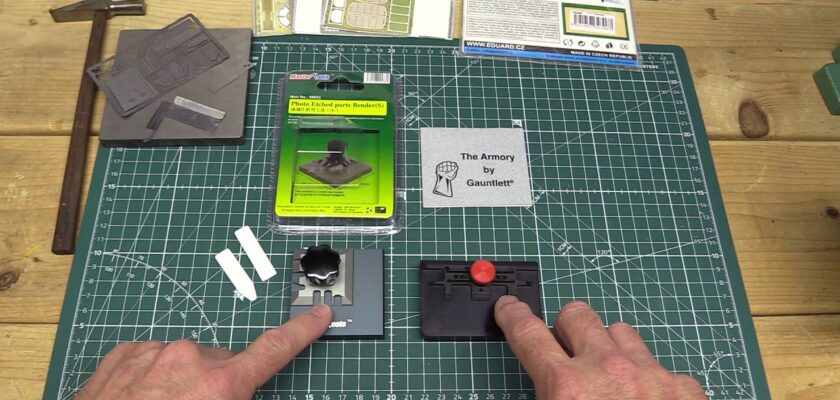
Types of Photo Etching Tips and Tools
Source:uweinc.com
Photo etching is a process of removing material with a tool that imitates the action of an acid etching bath. The tool cuts away the unwanted material, leaving a design or image in its place. Common photo etching tools include: sandpaper, foam brushes, wire cutters, knives and razors.
To get started with photo etching, you’ll need to have the right tips and tools. Some of the most common photo etching tips are listed below:
- Sandpaper: A variety of grits is needed to remove different levels of material. Flat sandpaper is best for starting with; it can be bought in sheets and can easily be replaced if it becomes worn or damaged. Coarser papers should be used for heavy coverage areas, while finer papers are better for delicate features or fine lines.
- Foam brushes: Many photo etchers prefer using foam brushes to apply pressure to the surface they’re working on. Foam brushes come in a variety of shapes and sizes, so finding one that’s comfortable for you to use is important. It’s also important to make sure the bristles are well-cleaned before using them; grit from previous painting or sculpting sessions can build up on the bristles and cause scratching or unevenness when used with photo etching materials.
- Knives: A good knife is essential for cutting through photo etching materials. It should have a sharp blade and a comfortable handle.
Photo etching tips:
- Always use a masking technique when etching your photo prints in order to avoid over-exposing other areas.
- Remember to control your exposure by using blocking out techniques and measuring out the amount of resistance you will need before beginning.
- Be sure to wash away the resist after etching in order to leave your finished image behind!